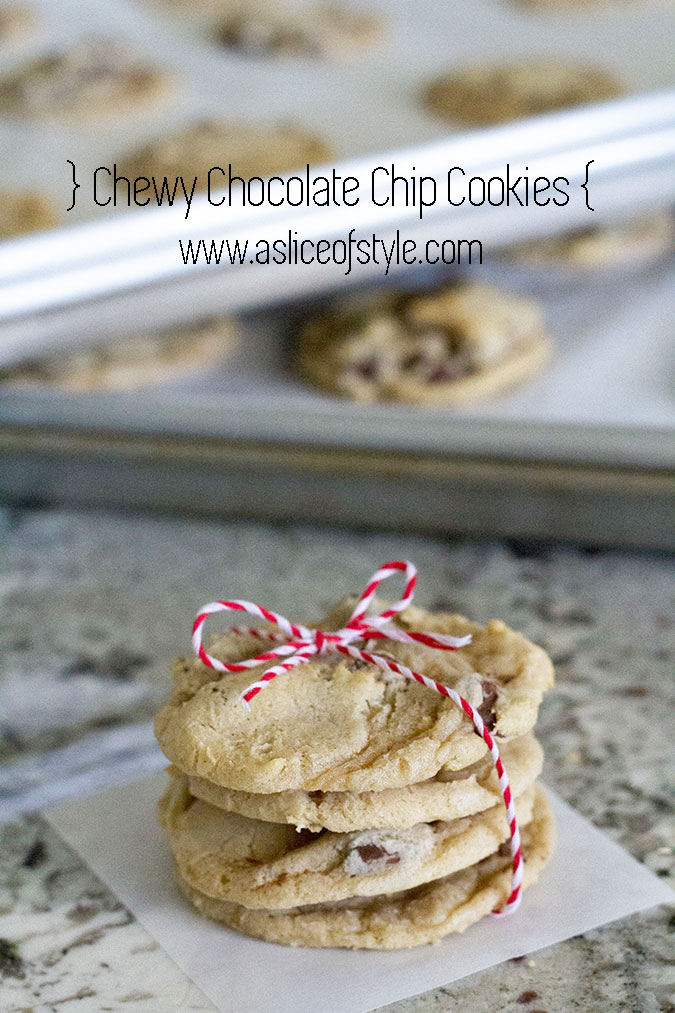
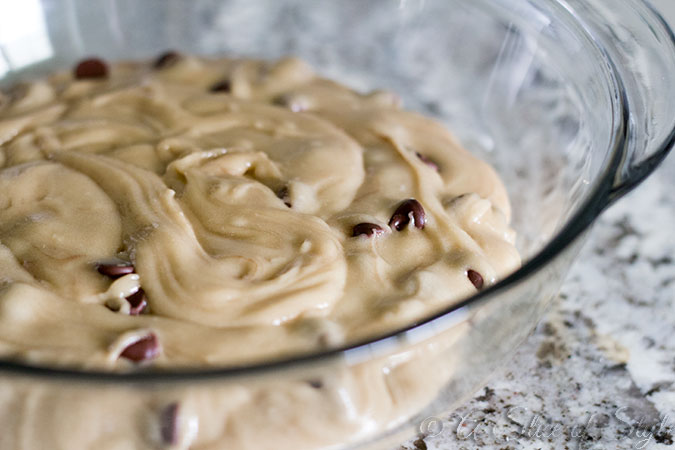
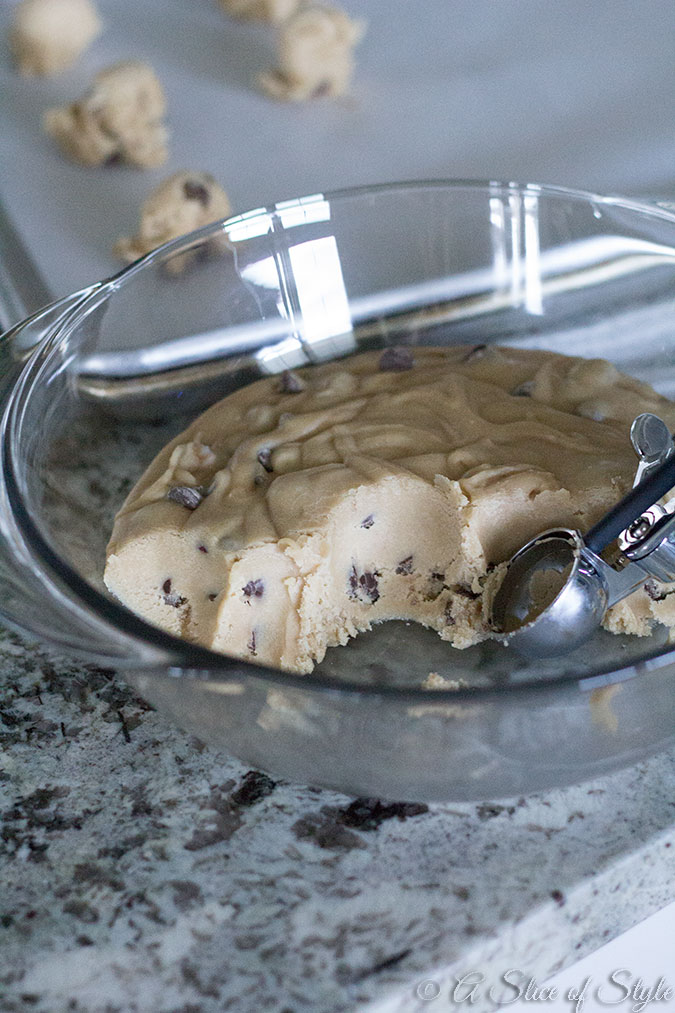
While baking and cooking has always been my strong suit, baking chocolate chip cookies has not. I had never found that golden, tried and true delicious recipe that was my go-to. I always told people that I preferred to just buy chocolate chip cookies from restaurants like Paradise Bakery because let’s be honest for one second, those cookies are good. Well, I stumbled upon Sally’s Baking Addiction and saw that her chocolate chip cookie post had 895 comments, and I figured it must be a winner. And boy, was it ever. I like chewy, gooey chocolate chip cookies and they were. The dough is completely different than any other cookie dough I have ever made. It has a very liquid texture until it’s refrigerated. She makes hers into large cookies and I made mine smaller using this Oneida cookie scoop
Chewy Chocolate Chip Cookies
Printable recipe
Yield: About 40 smaller cookies and 16 extra large cookies
Ingredients
2 and 1/4 cups flour
1 tsp baking soda
1 and 1/2 tsp corn starch
1/2 tsp salt
3/4 cup (1.5 sticks) butter, melted
3/4 cup light brown sugar, loosely packed
1/2 cup granulated sugar
1 large egg + 1 egg yolk
2 tsp vanilla extract
1 cup chocolate chips or chocolate chunks
Directions
1. Mix together the flour, baking soda, corn starch and salt in a large bowl. Set aside.
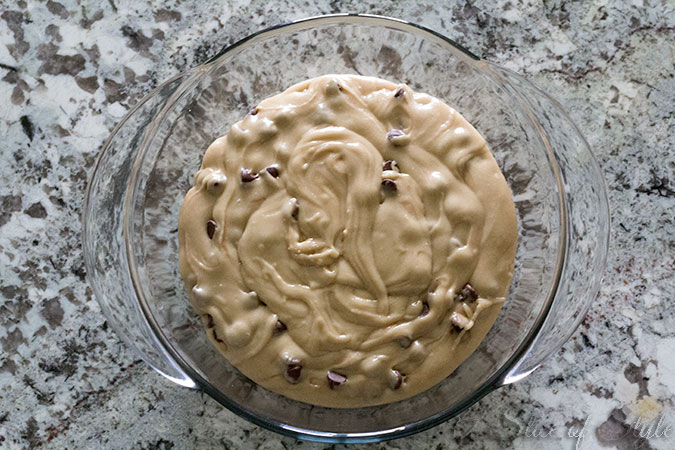
2. In a medium size bowl, whisk the melted butter, brown sugar, and granulated sugar together until no brown sugar lumps remain. Whisk in the egg, then the egg yolk. Finally, whisk in the vanilla. Pour the wet ingredients into the dry ingredients and mix together with a large spoon or rubber spatula. The dough will be very soft, yet thick. Fold in the chocolate chips. Cover the dough and chill for 2 hours, or up to 3 days. Chilling is mandatory.
3. Take the dough out of the refrigerator and allow to slightly soften at room temperature for 10 minutes.
3. Preheat the oven to 325 F degrees. Line large baking sheets with parchment paper or silicone baking mats. Set aside. To get the perfect cookie bottom, double-stack two cookie sheets for each batch.
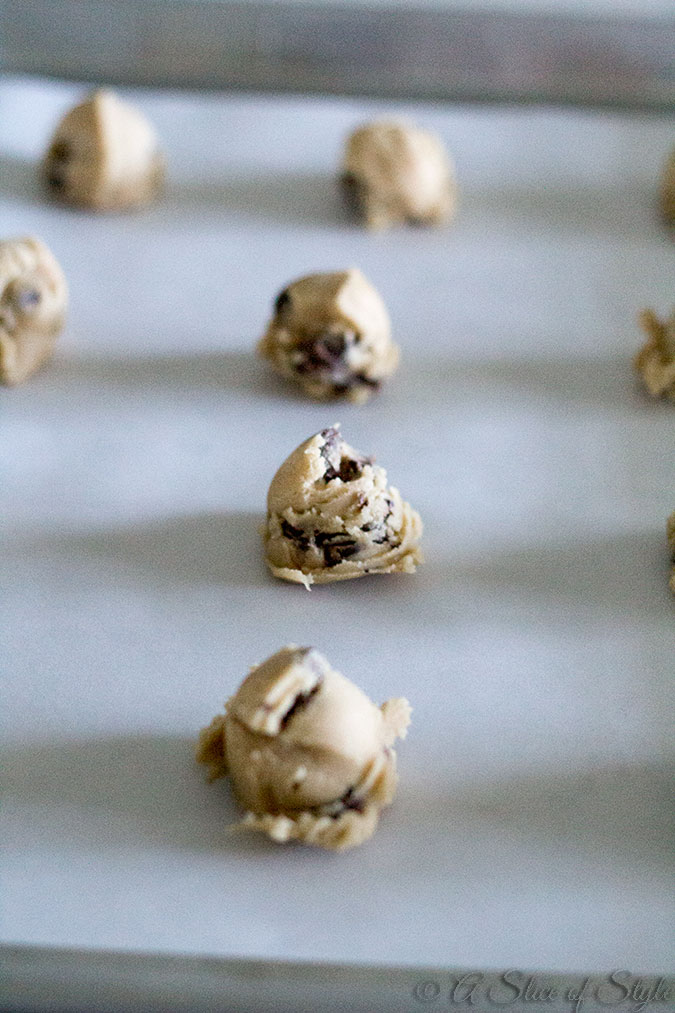
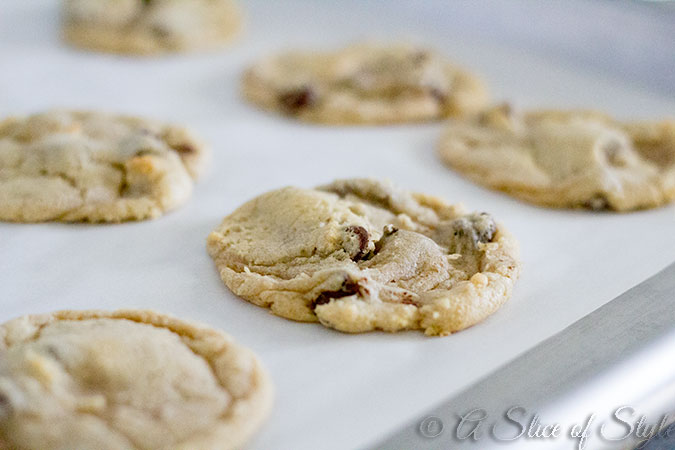
4. For large cookies, roll the dough into balls, about 3 Tablespoons of dough each. The dough will be crumbly, but the warmth of your hands will allow the balls to stay intact. For smaller cookies, scoop using the Oneida cookie scoop. Roll the cookie dough balls to be taller rather than wide, to ensure the cookies will bake up to be thick. Press a few more chocolate chips/chunks on top of the dough balls for looks, if desired. Bake the cookies for 11-12 minutes. The cookies will look very soft and under baked. They will continue to bake on the cookie sheet. Allow to cool on the cookie sheet for 10 minutes before moving to a wire rack to cool completely.
5. Cookies stay soft and fresh for 7 whole days at room temperature. Cookies may be frozen up to 3 months. Rolled cookie dough may be frozen up to three months and baked in their frozen state for 12 minutes.
6. Enjoy with a cold glass of milk
Note: Recipe from Sally’s Baking Addiction
Shop some great baking and cooking tools here:



Leave a Reply