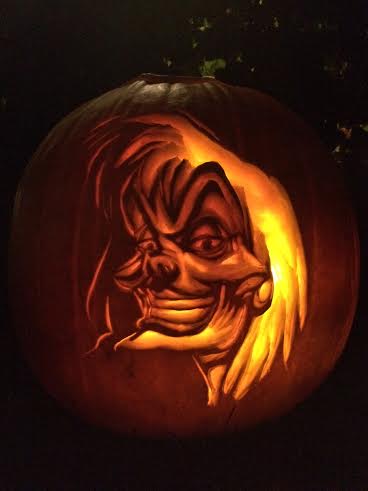
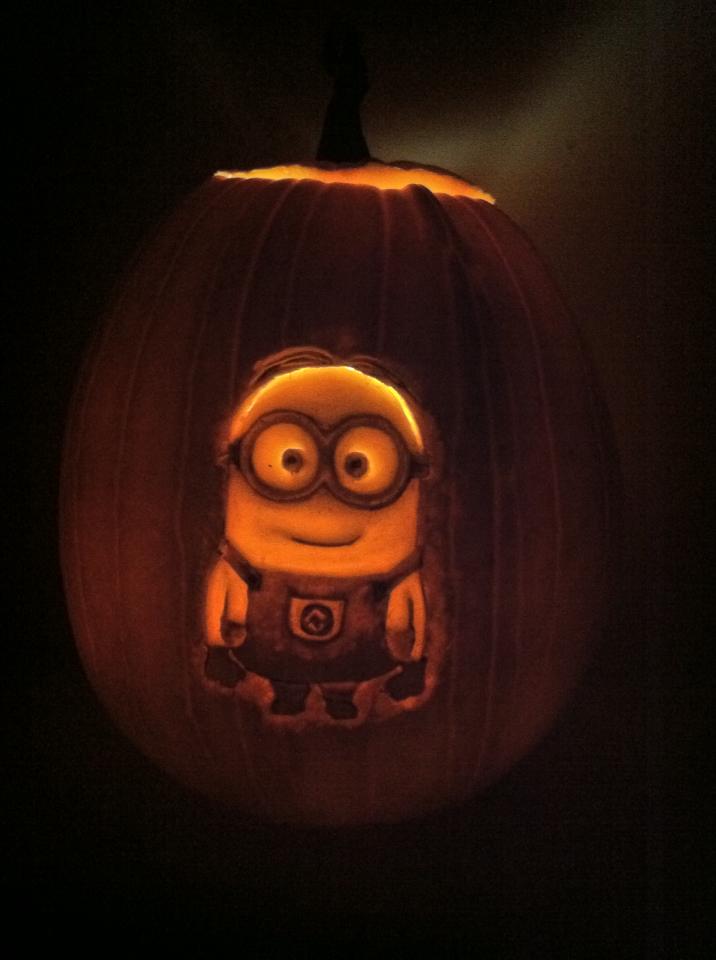
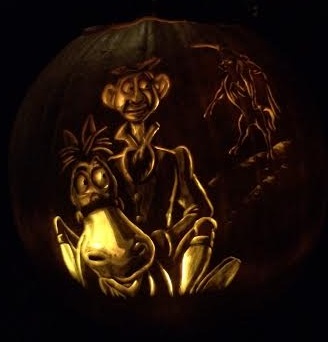
My friend Blaire carves AMAZING pumpkins. She carved every pumpkin in the pictures below, and yes, they are real. In every conversation I have had about pumpkin carving this season (which has been quite a lot of times actually) I have had to brag about her incredible pumpkins. I was talking to her in April and she legitimately said, “I can’t wait until October so I can carve pumpkins.” Don’t deny your passions, people! She puts my triangle eyes and triangle nose pumpkins to shame.
She was willing to share her pumpkin carving secrets so you can impress your friends and family. See her instructions below!
How to Carve an AMAZING Pumpkin by Blaire McConkey:
1. The Prep
Picking your pumpkin: My recommendation is to pick a
slightly younger pumpkin. This doesn’t mean they are small, but are
just actually more of a yellowish orange than a dark orange. Generally
younger pumpkins, have much shallower ridges and are easier to
manipulate. Avoid any green however, as that can be even worse on the
inner part of the pumpkin and effect any shading you choose to do.
Since I do a lot of portrait style pumpkins, I usually just care about
having one relatively flat side. Super round pumpkins make it a bit
harder to get your image on without distortion.
Tools: I use a few different types of tools depending on what type of carving I
am working on, and what effect I am going for. For the beginner to
doing the “shaved” look, I highly recommend a linoleum cutter.
fountain pen, but shaves just a small layer of skin off the top of the
pumpkin. There are several sizes and shapes of blades that will provide
deeper or shallower grooves in your pumpkin.
To smooth out larger shaved areas, I use these
are great at cleaning up any excess inner flesh off the pumpkin. I
remove the skin with the lino cutter, but then use these to make sure
that the layer underneath is nice and uniform.
Once you have gotten a bit more advanced, and want to add shading to
your pumpkin, I suggest getting a pack of clay sculpting tools, like this
pumpkin in small areas where you may want to have more light shine
through.
Cleaning: I use a standard pumpkin carving set from the grocery store for cleaning
the pumpkin out. I still think they are the best. You want the
pumpkin about an inch thick to start (you can dig out more if needed
later on). Be certain to clean out all the wet guts of the pumpkin, so
its nice an dry on the inside.
2. The Carving
Picking and copying the image: Picking an image can be the toughest
part of pumpkin carving. For the beginner, using a lino cutter, or even
a dremel. I recommend choosing images that are pretty flat; as in they
don’t have a ton of shading or don’t look three dimensions. Logos are
usually a great way to start. These
monogrammed pumpkins are actually what got me to buy a lino cutter in
the first place. They are unbelievably easy and really help you get
used to the tools.
To transfer the image to the pumpkin, I use carbon paper. It’s hard to
believe it’s still available, but you can find it at office stores. I
print my image, put a piece of carbon paper behind it, and then tape the
whole thing to the pumpkin. Then just trace on your paper with medium
pressure, and when you remove, your image should be in black right on
the pumpkin. If you have any sections that didn’t copy over, just use a
felt tip marker to fill in the gaps.
Once you feel ready to move up a step, you can start picking images that
have a bit more depth. Still just trace the basic outline of the
image to the pumpkin, and then use your tools to carve out different
depths to create the shading. Deeper = lighter, shallow = dark, and
leave the skin on for any areas of black. It takes practice, but its
easier than you think.
Lighting and Preserving the pumpkin: I use an LED light for my pumpkins as they put off a ton of light. If
you are using candles, you may want to take more flesh out of the
interior of the pumpkin to make it brighter. That’s a helpful trick,
don’t go back and dig deeper on what you have already carved, instead
just carve out more from the back. Much easier.
It may sound crazy, but I use Clorox Kitchen Cleaner with Bleach to
preserve my pumpkins. Honestly, these types of carvings won’t last
more than a day or two without it. But if you spray the entire thing
down, inside and out, right after carving, you can get them to last
closer to a week to a week and a half.
How amazing is that?! Thank you so much, Blaire, for sharing your skills and breaking it down for us. You make it seem like it’s possible because when I first saw your pumpkins my mind was blown! Okay, it still is, but at least we have the steps to try to recreate your carvings. Happy pumpkin carving, everyone! Let me know if you try this method. I would love to see pictures!


Leave a Reply