One of the most commonly asked questions on my Instagram stories is if I can do an eye shadow tutorial! This NAKED palette tutorial is so easy and quick, and I have some simple tricks that will make your eye shadow stay all day and all night. Scroll down to read!
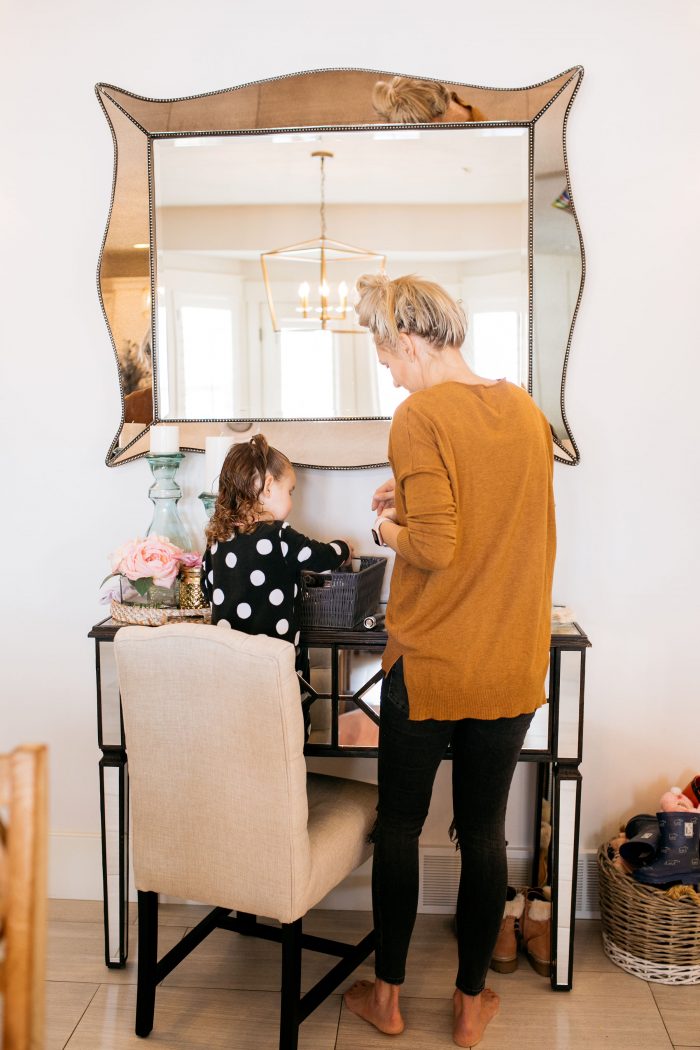
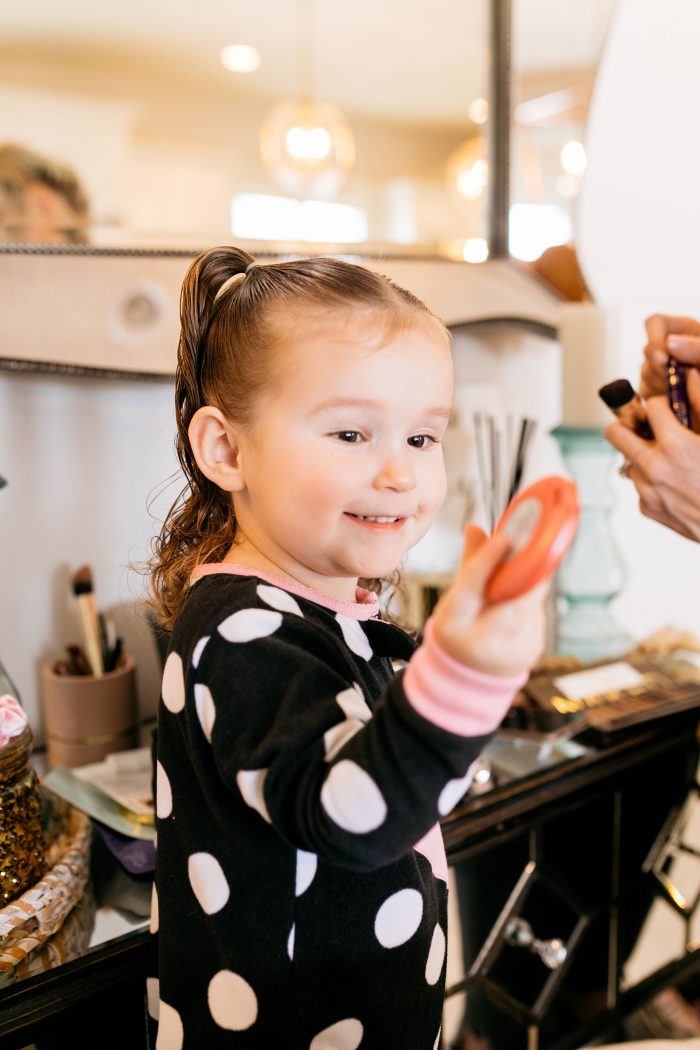
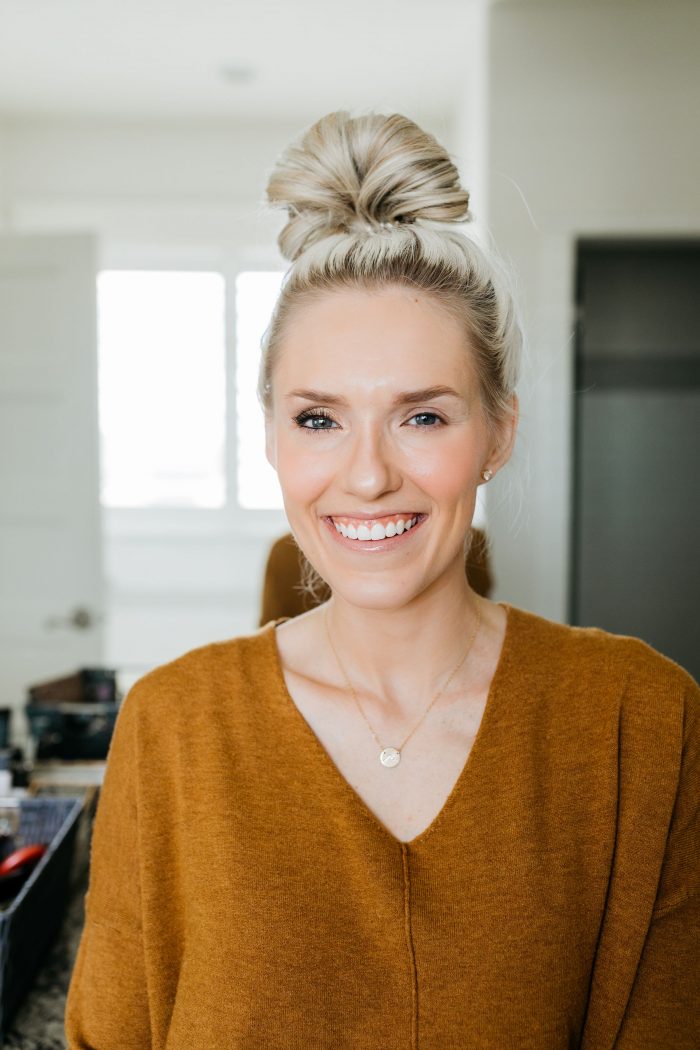
The number one question I get asked about on my Instagram stories is, “can you please tell me how to do your eye shadow?” It’s about time I put together a NAKED palette tutorial for you guys! This is the most beautiful eye shadow I’ve ever found and I love that every single color can be used for various looks. This palette is absolutely beautiful! I have also linked the specific colors I use in the tutorial below that you can buy individually and they are the only colors I used from the palette anyway, so it ends up being a better deal. Just follow the NAKED palette tutorial below to see where to put them on your eyelid! I also love the Naked 2 and Naked 3 palettes.
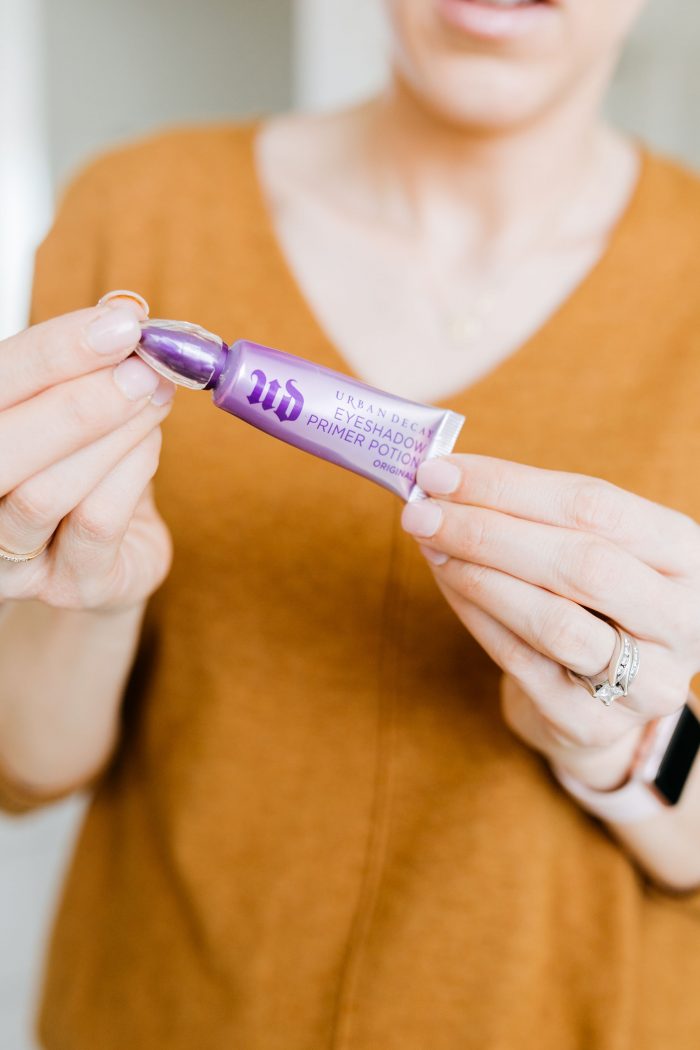
This is literally the best eye shadow primer of ALL TIME. My friend Jen told me about it about 4 years ago and it’s when I actually started using eye shadow because after you apply this primer and put on eye shadow, it stays put and doesn’t crease the entire day.
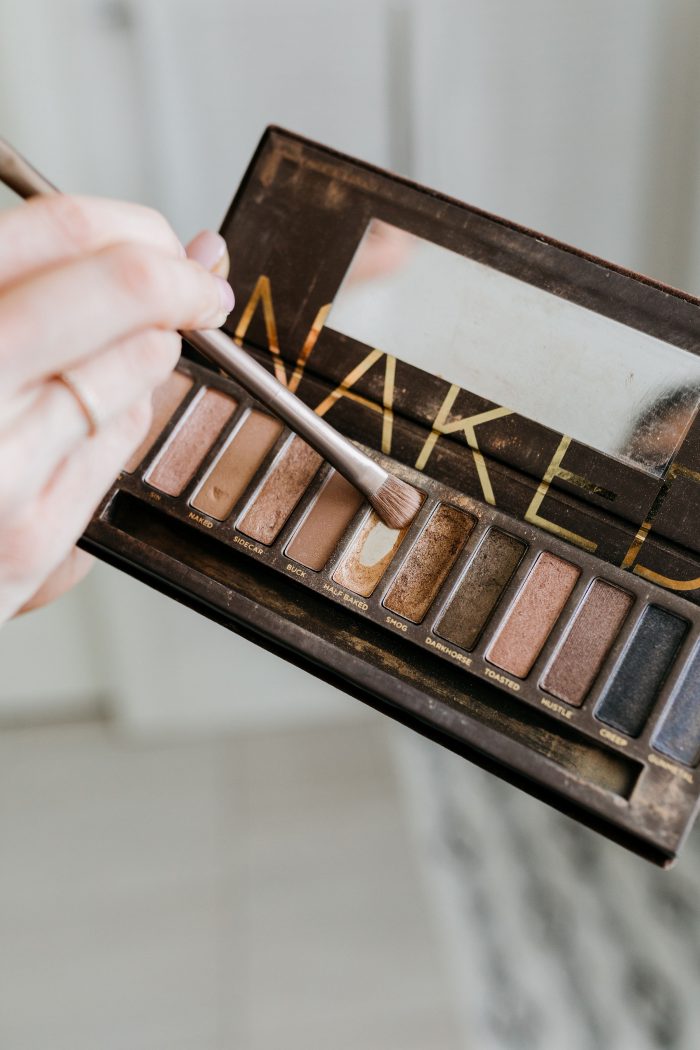
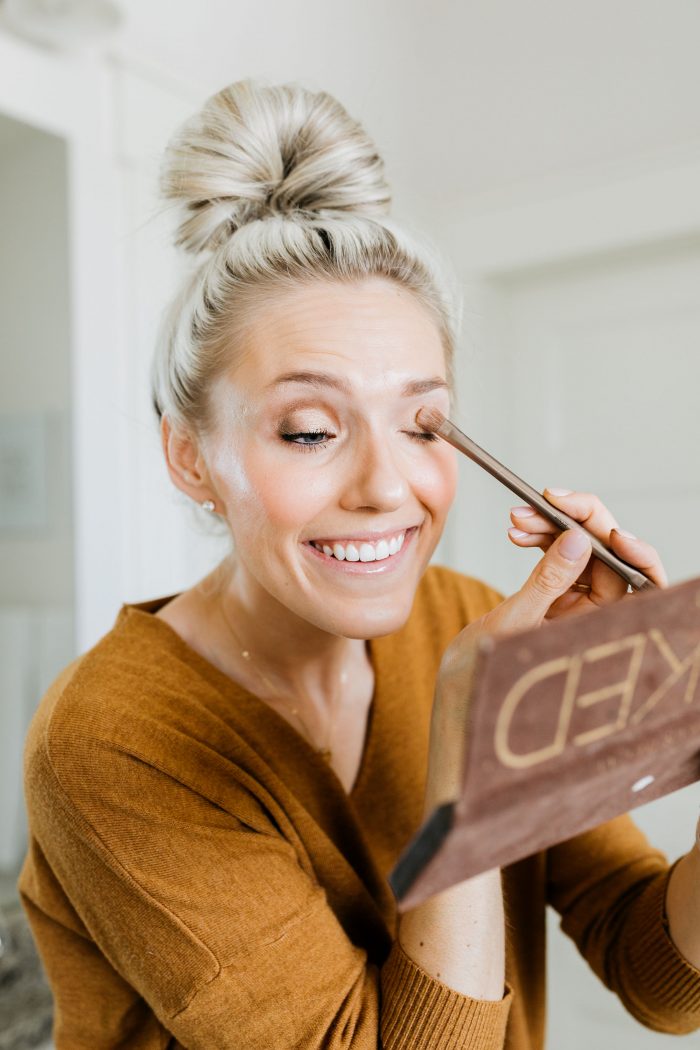
This eye shadow palette in this NAKED palette tutorial is hands down my most beautiful and most used eye shadow palette I’ve ever owned. Start with the color “half baked” on the inside corner of your eye to about the middle. Use the brush that the eye shadow palette comes with and use the bigger end.
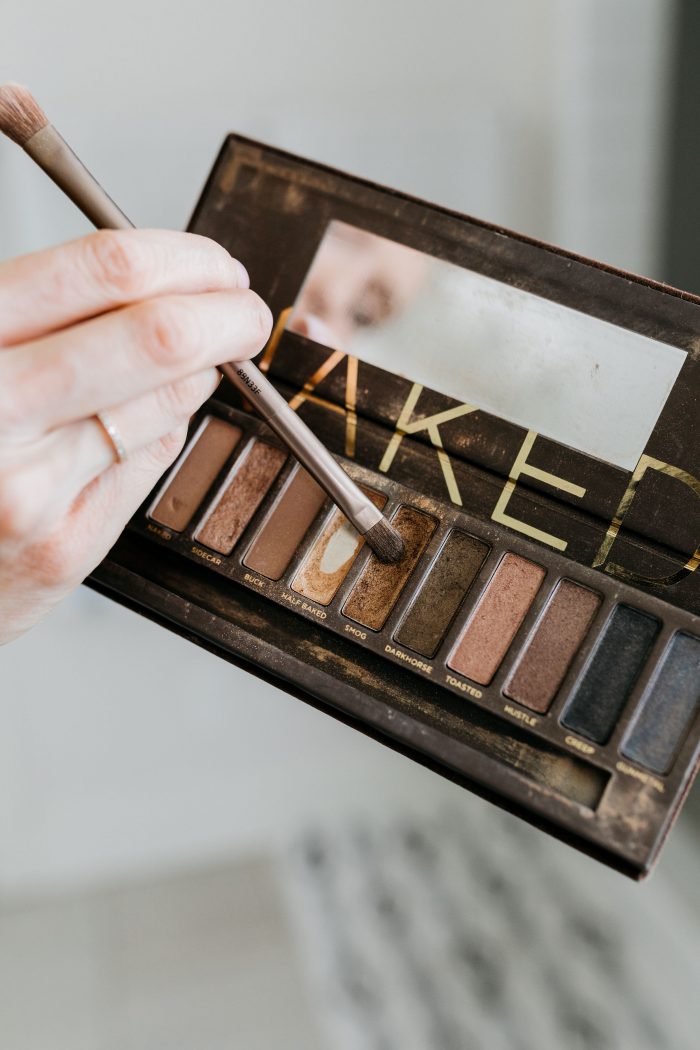
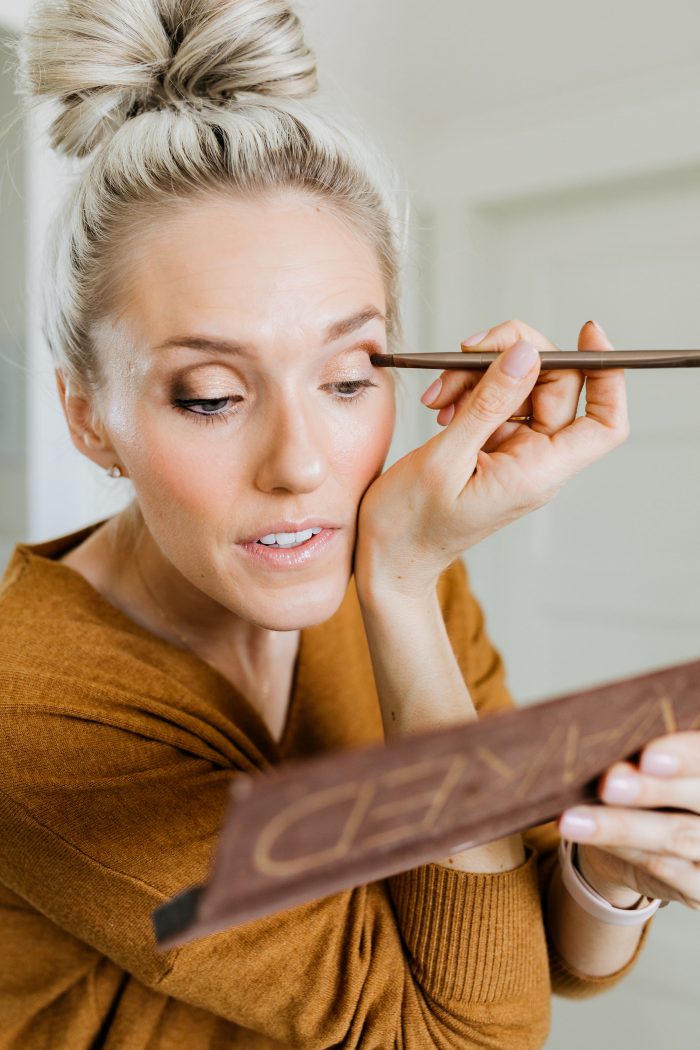
Next, use the color “smog” on the crease in your eye. You can apply it using the smaller end of the brush that the eye shadow palette comes with.
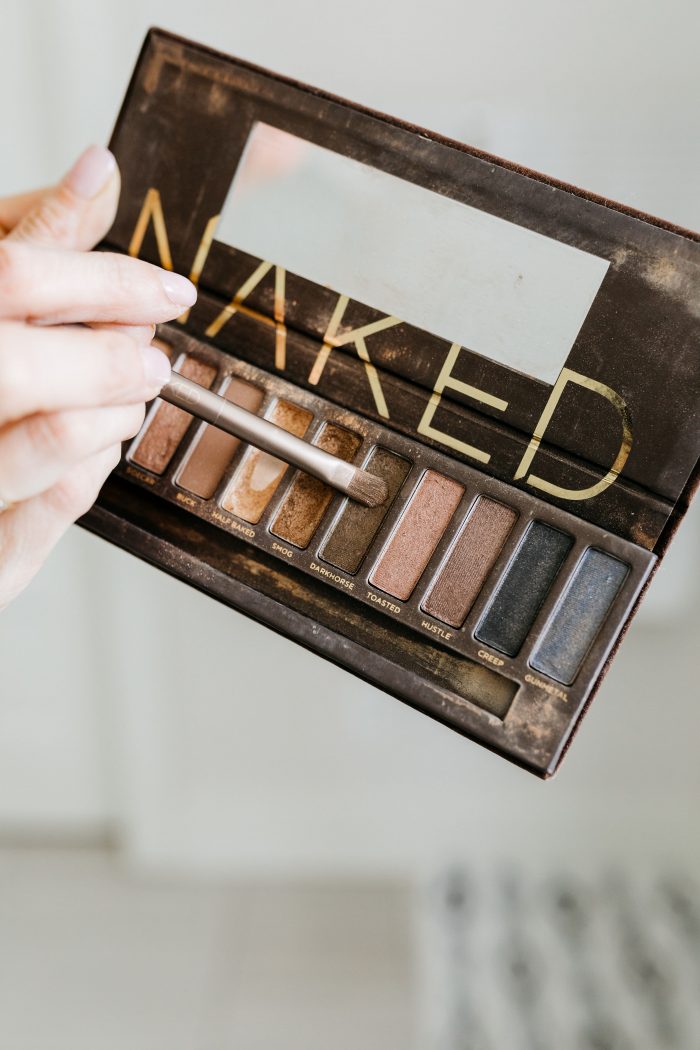
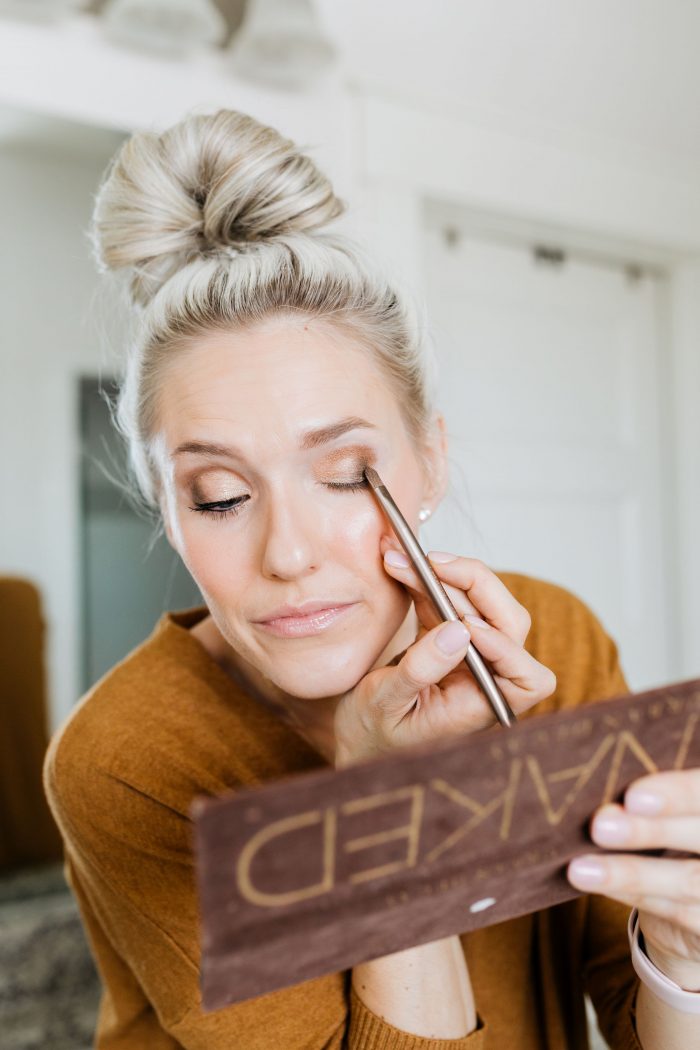
Apply the color “dark horse” on the corner of your eye and drag it in towards the center of your eye using the small end of the makeup brush that the eye shadow palette comes with.
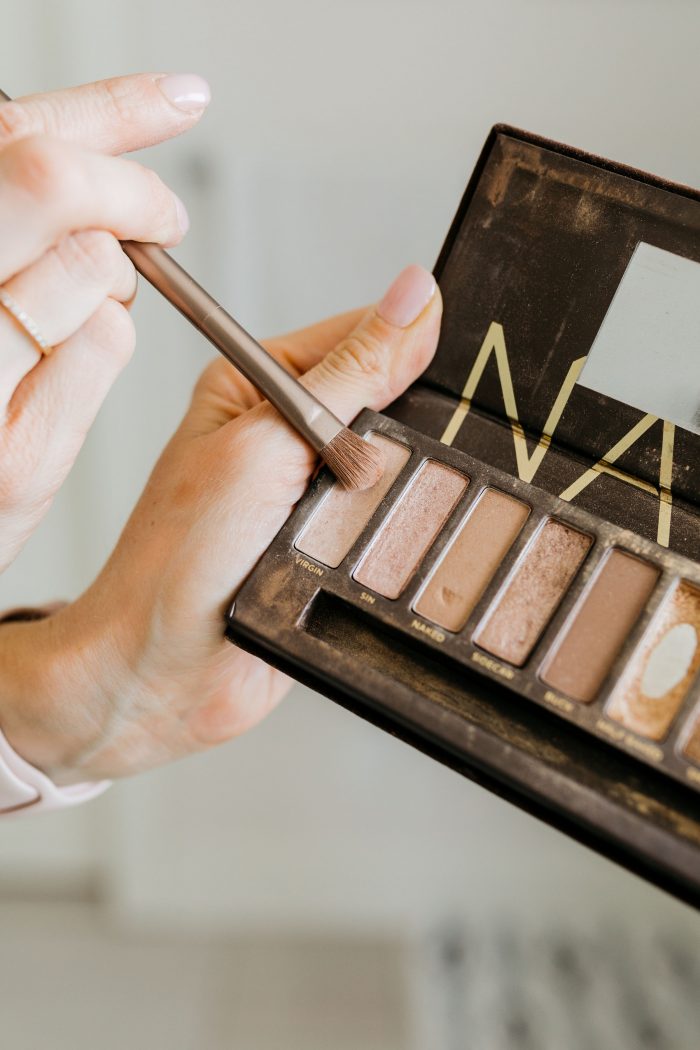
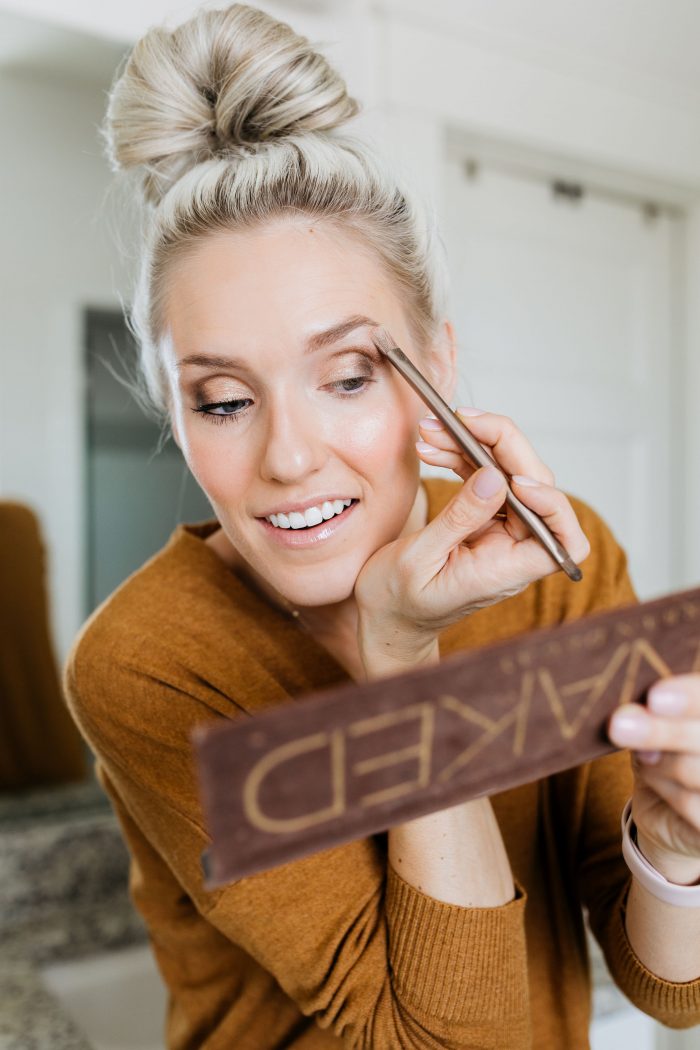
The next step in this NAKED palette tutorial is to use the color “virgin” on the top part of your eye to highlight your brow bone. I go back to using the large end of the brush for this part of my eye.
I then BLEND all of the eye shadow together really well using THIS brush.
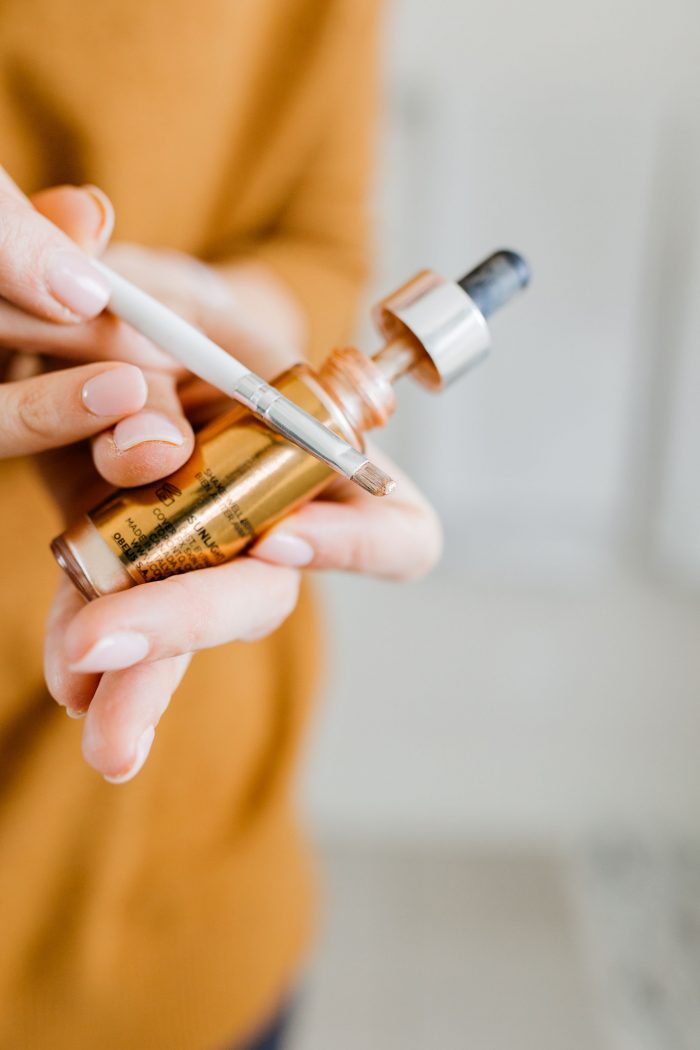
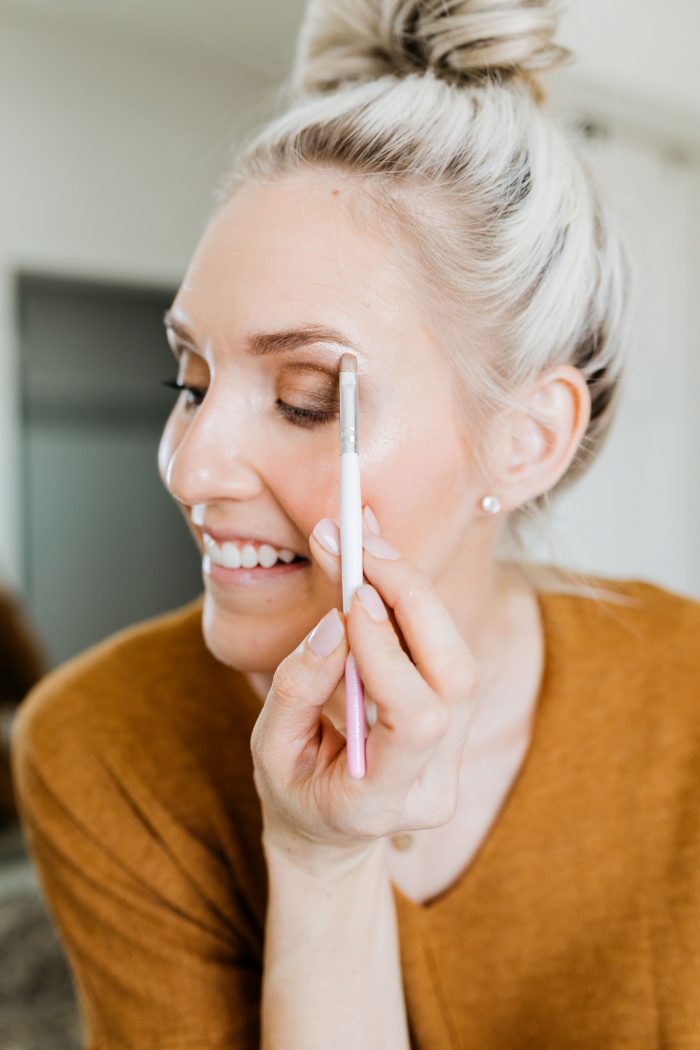
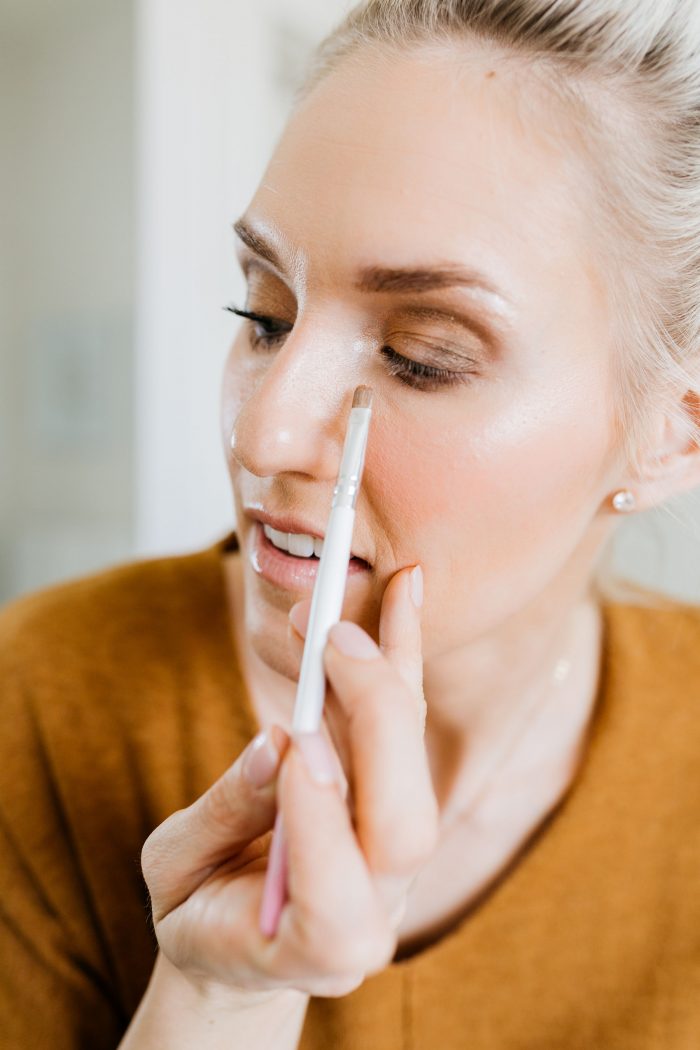
This bottle of Color FX custom enhancer drops is literally going to last me my entire life because I use the tiniest amount to highlight my brow bone and apply to the inside corner of my eye. It is SO PRETTY. I use the color sunlight. You can also use it on your cheek bones, and anywhere else that needs to be highlighted. This makes your eyes look bigger.
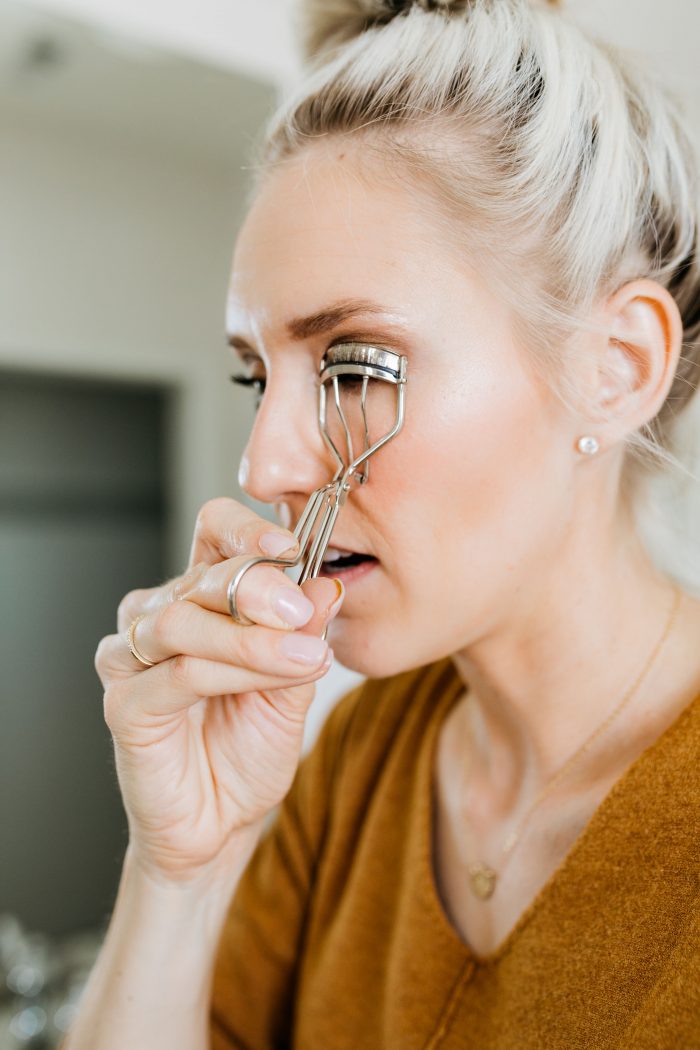
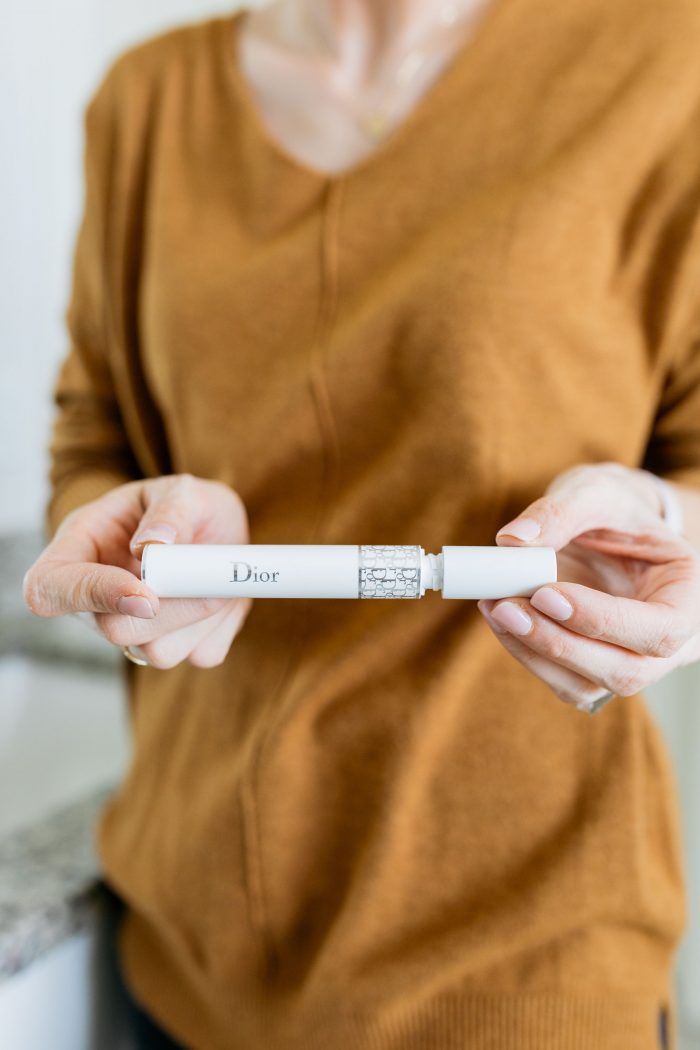
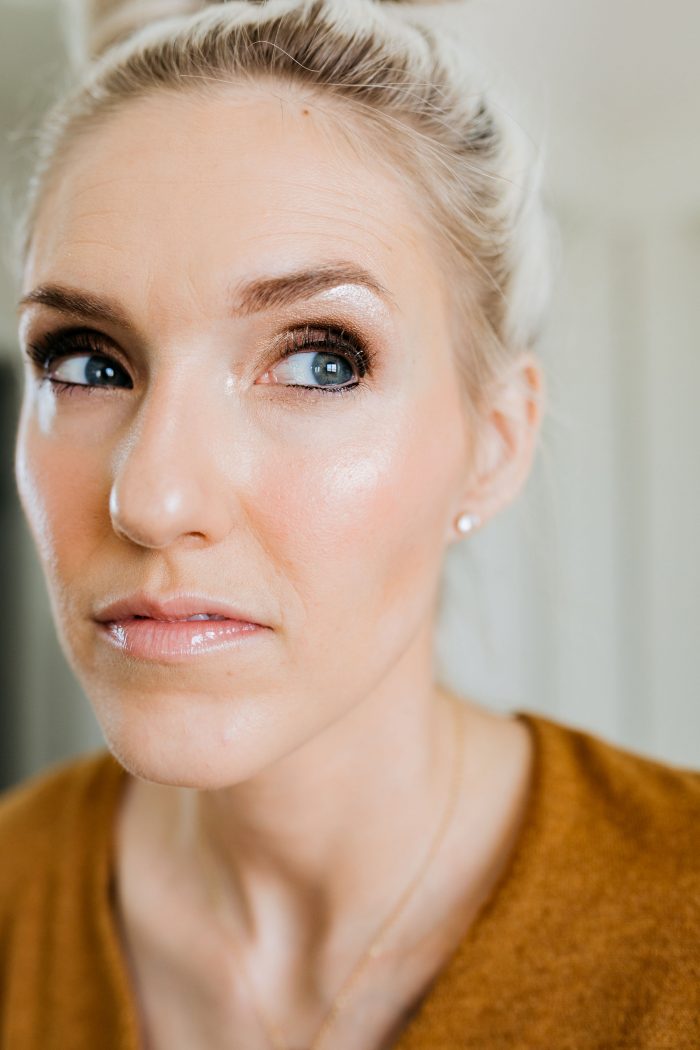
I curl my eyelashes using my favorite eyelash curler to add a lot of curl to my straight lashes, then apply this eyeliner that doesn’t ever smudge and goes on smooth, then apply a coat of the DiorShow Maximizer eyelash primer that adds a lot of volume. I am AMAZED by this stuff. It makes a big difference. It’s expensive but it lasts for a long time because you don’t need much. I’ve had my bottle of eyelash primer for about 6 months. After that dries, I top it off with my new favorite mascara that doesn’t smudge or flake and separates my lashes so well.
The last step in this NAKED palette tutorial when you are finished with all of your makeup is to spray this setting spray that makes your makeup stay all day and all night! I’m obsessed with it. I’ve tried other brands and nothing else compares.

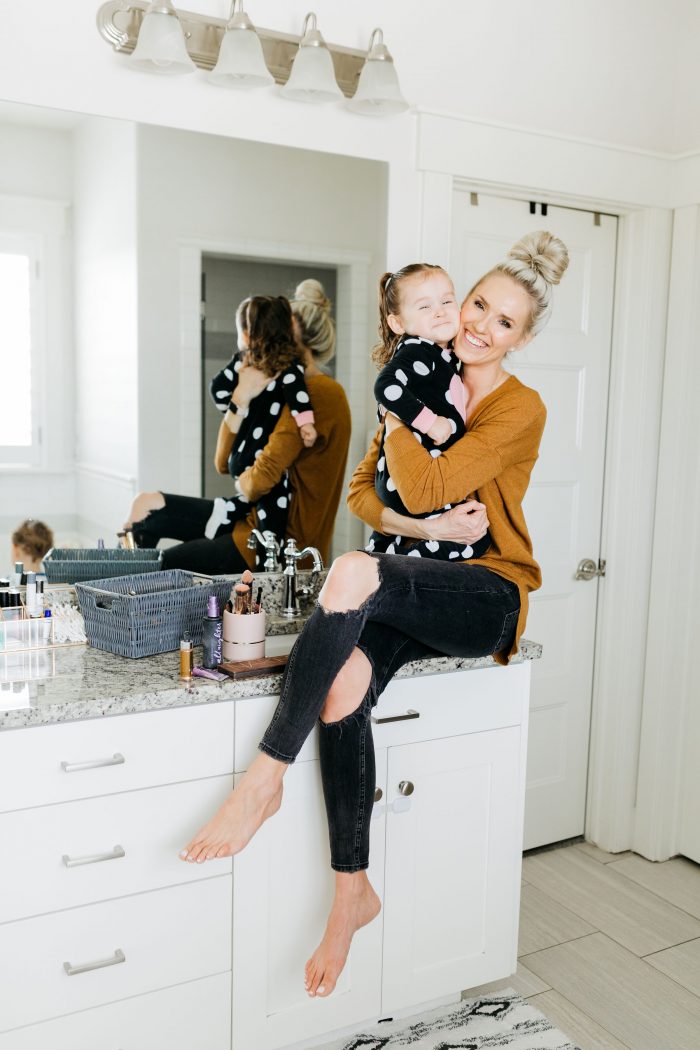
I love this eye shadow look and I love that this NAKED palette tutorial is so easy and quick to apply! It’s natural and goes with any outfit. It’s the number one question I get asked all of the time on my Instagram stories!




Love it!! Thank you I am always wondering what you’ve been wearing, always looks stunning!! It’s a shame Urban Decay discontinued this palette…
Thank you! I linked the direct colors so you’re golden! I only use those 4 colors so you can just buy them individually. YAY!
You’re so sweet! I only use those four colors and you can buy them separately! I linked them in the post 🙂